Why Everyone Needs a Basic Medical Kit
Picture this: It's Saturday evening, and a severe storm has knocked out power across your neighborhood. Your daughter comes running inside with a deep scrape on her knee from playing in the yard. You reach for the medicine cabinet, only to find a single crusty bandage and a bottle of aspirin that expired three years ago. The nearest urgent care? Closed due to the power outage.
This scenario happens more often than you'd think during emergencies. It's exactly why having a well-stocked medical kit matters.
When disaster strikes—whether it's a natural event like a hurricane or earthquake, or something more localized like a multi-car accident blocking roads to the hospital—medical services become stretched thin or completely unavailable. Major disasters have left residents without access to basic medical care for extended periods. Having your own supplies means you can handle common injuries and health issues without depending on overwhelmed emergency services .
Here's the good news: Most injuries during emergencies aren't life-threatening situations requiring surgical intervention. According to emergency preparedness experts, the vast majority are minor wounds, burns, sprains, and common illnesses that respond well to basic first aid . We're talking about cuts that need cleaning and bandaging, headaches, upset stomachs, and minor burns. You can address all of these with supplies that cost less than a nice dinner out.
Building a functional medical kit doesn't require a nursing degree or a massive budget. You can assemble a comprehensive basic kit by shopping smart and focusing on essentials first . This isn't about preparing for apocalyptic scenarios. It's about being ready for the realistic emergencies that happen to real families every day.
The best part? You can start small and build your kit over time. There's no pressure to buy everything at once. Even a few basic supplies put you ahead of most people and can make a real difference when minor emergencies happen.
- Antibiotic Ointment
- For preventing infection in minor cuts and burns. $4-8
Essential Supplies for Your Budget Medical Kit
Think of your medical kit in three layers: wound care, medications, and personal health needs. Each layer addresses different but equally important aspects of emergency medical preparedness. Breaking it down this way makes the whole process feel less overwhelming.
Wound Care Essentials:
Your wound care supplies handle everything from paper cuts to more serious injuries. Start with adhesive bandages in various sizes—those little cuts on fingers need different coverage than scraped knees. Add sterile gauze pads (both 2x2 inch and 4x4 inch sizes) and medical tape to secure them.
Basic supplies include adhesive tape, elastic wrap bandages, antibiotic ointment . Include rolled gauze for wrapping injuries. Don't forget tweezers for removing splinters, scissors for cutting tape and gauze, and disposable gloves to keep everything sanitary. A basic digital thermometer helps you monitor fevers, which can indicate infection or illness .
These items form the foundation of your kit. Once you have these basics covered, you're already prepared to handle the most common injuries that happen at home.
Over-the-Counter Medications:
Stock pain relievers and fever reducers like acetaminophen and ibuprofen. These multitask for headaches, body aches, and fevers. Add anti-diarrheal medication, because stomach issues don't pause for emergencies.
Antihistamines handle allergic reactions and help with sleep if stress keeps you awake. Include antacids for digestive upset, hydrocortisone cream for rashes and itching, and oral rehydration packets for dehydration from illness or heat. These medications address the majority of minor medical issues you'll likely encounter during emergencies .
Store at least a 3-day supply of medications . This gives you breathing room during short-term emergencies when getting to a pharmacy might be difficult or impossible.
Personal Medical Needs:
This category is crucial and often overlooked. The CDC strongly recommends maintaining at least a month's supply of prescription medications . This includes daily medications for conditions like high blood pressure, diabetes, asthma, or thyroid issues.
Keep a written list of all medications, dosages, and prescribing doctors in your kit. Add copies of medical insurance cards and any relevant medical records. If someone in your family uses an EpiPen, inhaler, or insulin, ensure you have backup supplies and they're stored properly.
Include any special medical equipment your family needs. Extra glasses or contact lenses with solution, hearing aid batteries, or mobility aid supplies all belong in your kit. For families with infants, add pediatric-specific items like infant pain reliever and a medicine dropper or syringe for accurate dosing.
Don't worry if you can't get everything on this list right away. Start with what makes the most sense for your family's specific health needs. You can always add more items as your budget allows.
Download our free medical kit inventory checklist to get started on organizing these supplies efficiently and ensuring you don't miss any essentials for your family's specific needs.
Where to Find Affordable Supplies
Building your medical kit on a budget requires knowing where to shop and what compromises make sense. The difference between smart shopping and overspending can be hundreds of dollars for the same level of preparedness.
Dollar stores have become surprisingly reliable sources for basic medical supplies. You'll find adhesive bandages, gauze pads, medical tape, antibiotic ointment, and basic pain relievers at a fraction of pharmacy prices. A box of bandages that costs $4.99 at a drugstore might be just $1 at a dollar store.
The quality for basic items is typically identical. They're often made by the same manufacturers. However, skip dollar store scissors and tweezers, which tend to be poorly made. Invest a few extra dollars in decent quality tools that won't fail when you need them most.
Warehouse clubs and bulk retailers offer impressive savings on medications and supplies you'll use regularly. Buying a 500-count bottle of ibuprofen versus a 50-count bottle can save you significant money per pill . The same applies to bandages, gauze, and other consumables.
Yes, you're spending more upfront. But you're building both your emergency kit and your everyday supply. These items don't spoil quickly, making bulk purchases practical for most families.
The generic versus name-brand debate ends quickly when you understand the facts. Generic medications contain the exact same active ingredients in the same strengths as name brands. The FDA requires this equivalence .
The difference? Marketing costs and brand recognition. That $8 bottle of name-brand acetaminophen works identically to the $3 generic version sitting right next to it. Read the labels and compare active ingredients. You'll find they match perfectly. Save your money for supplies you actually need more of rather than paying for brand names.
Online retailers sometimes offer better prices on first aid kits and supplies, especially if you're patient enough to wait for shipping. However, compare total costs including shipping before assuming online is cheaper. Sometimes local stores running sales beat online prices, especially on heavier items where shipping costs add up.
Shopping sales and using coupons can stretch your budget even further. Many drugstores offer rewards programs that give you money back on purchases. Stack these with manufacturer coupons and you can build your kit for even less.
Storage and Maintenance Tips
You've invested time and money building your medical kit. Now you need to ensure those supplies actually work when an emergency hits. Proper storage and regular maintenance transform a box of supplies into a reliable resource you can count on.
Step 1: Choose the Right Storage Location
Find a cool, dry spot away from direct sunlight and heat sources. Store medical supplies in a waterproof container . This protects your supplies from moisture damage during floods or leaks.
Bathroom medicine cabinets, despite their name, are actually terrible storage spots. The heat and humidity from showers can affect medication quality. Instead, consider a bedroom closet, hall linen closet, or a climate-controlled garage shelf.
The location should be easily accessible to adults but secure from curious children. A portable container works well because you can grab the entire kit if you need to evacuate. Label the outside clearly so family members know what it contains.
Step 2: Organize for Quick Access
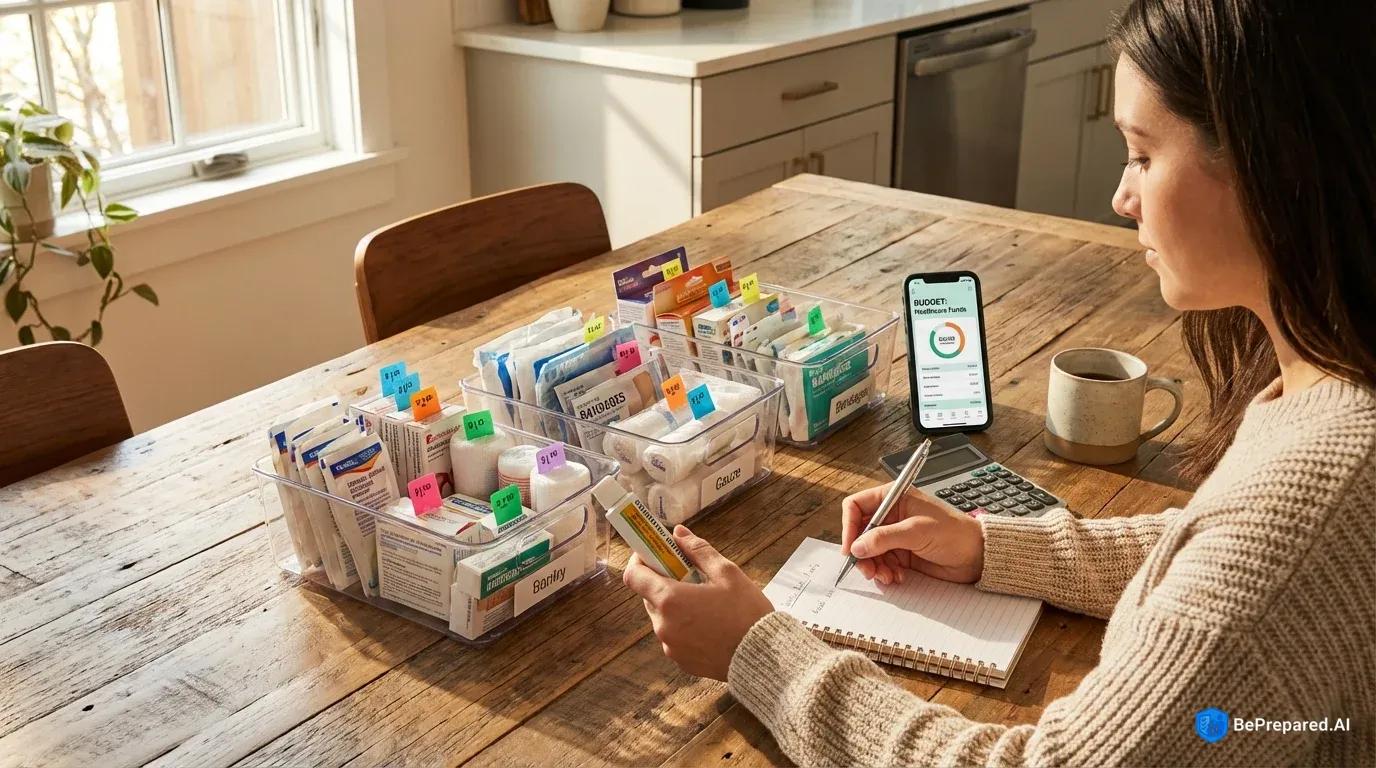
Use clear plastic bins or bags to group similar items together. Wound care in one section, medications in another, personal items in a third. Label everything clearly, including expiration dates.
When someone's bleeding or in pain, you don't want to dig through a jumbled mess searching for supplies. Some families use gallon-sized ziplock bags for categories, which keeps items visible and contained. Create a simple inventory list and tape it inside the container lid so you know at a glance what you have.
Think about the last time you needed something urgently. Good organization means the difference between finding what you need in seconds versus minutes of frustrated searching.
Step 3: Check Your Kit Regularly
Set a recurring reminder to review your kit periodically . Many experts suggest checking every six months, but even an annual review is better than nothing. Check expiration dates on all medications and ointments. Anything close to expiring should be rotated into your regular use and replaced.
This prevents waste while ensuring fresh supplies in your emergency kit. Verify that bandages are still sealed and sterile, and that any liquid medications haven't separated or changed color. Replace any items you've used since your last check.
Make this review easy on yourself. Pick a memorable date like when you change your clocks for daylight saving time, or tie it to another regular household task you already do.
Step 4: Update for Changing Needs
During your reviews, consider whether your family's medical needs have changed. Did someone develop a new condition requiring prescription medication? Has a child outgrown pediatric doses and need adult formulations?
Did you discover during a minor emergency that you were missing something important? Update your kit to reflect your current reality, not what your family needed a year ago. Keep a small notepad in your kit to jot down items you wish you'd had when minor injuries or illnesses occur. That real-world testing is invaluable for improving your preparedness.
Your medical kit is a living resource that evolves with your family's needs. By storing it properly and maintaining it regularly, you're ensuring that when an emergency happens—and eventually one will—you'll have functional, effective supplies ready to use.
That peace of mind is worth far more than the few minutes it takes to maintain your kit. You're not just building a box of supplies. You're building confidence that you can handle whatever comes your way.
Start with just one section of your kit this week. Maybe grab some bandages and pain relievers on your next shopping trip. Next week, add a few more items. Before you know it, you'll have a complete kit without ever feeling overwhelmed by the process. You've got this.