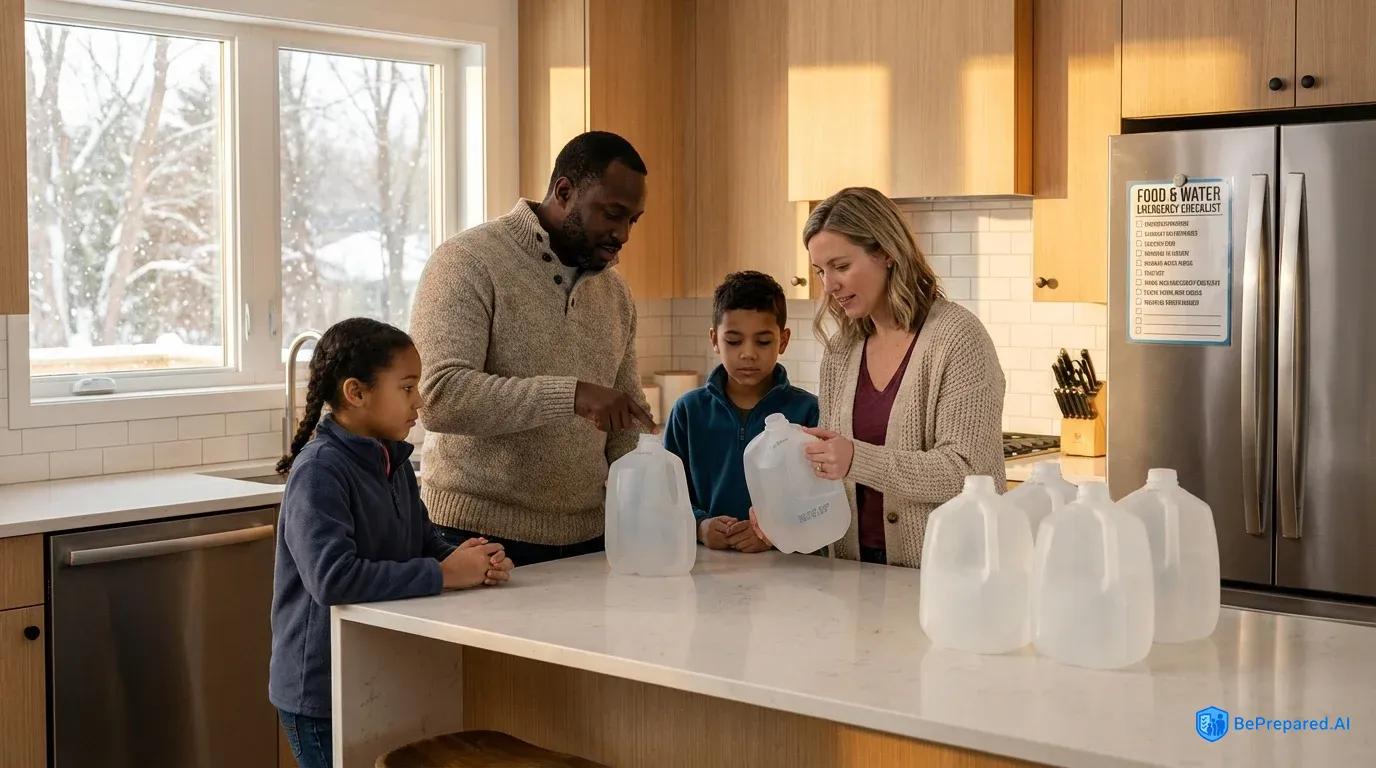
Why You Need Emergency Water Storage for Winter
Picture this: It's a Friday evening in January, and the weather forecast is calling for a major winter storm. You're settling in for the weekend when the power flickers once, twice, then goes dark. No big deal—you've got flashlights and blankets. But when you turn on the tap Saturday morning, nothing comes out. The pipes have frozen solid, and you realize with a sinking feeling that you don't have a single gallon of stored water in your home.
This scenario happens more often than you might think. Winter storms can knock out power for days across the United States, and when the power goes, your water supply often follows. Even if you have municipal water service, the pumps that deliver it to your home need electricity. And if you're on a well system, you're completely dependent on electric pumps. But power outages aren't the only threat to your water supply during winter months.
Frozen and burst pipes represent one of the most common winter emergencies affecting households. When temperatures plummet, the water inside your pipes can freeze and expand, causing cracks or complete ruptures. Even a small crack can release hundreds of gallons of water into your home. When pipes burst, your water service gets shut off entirely until repairs are made. During a major winter storm, plumbers might be days away from reaching you, leaving your family without running water for an extended period.
Every person needs at least one gallon of water per day for drinking and sanitation, and FEMA recommends storing a minimum three-day supply for each household member . That means a family of four should have at least twelve gallons on hand at all times. While three days might sound like overkill, consider that winter storms can isolate communities for a week or more. Infrastructure repairs often take even longer. Having adequate water storage isn't about paranoia—it's about basic preparedness for predictable winter challenges.
- Food-Grade Plastic Containers
- ✓ Safe: Look for HDPE #2 plastic with 'food-grade' label. Water-tight lid, sturdy construction
- Glass Containers
- ✗ Unsafe: Can break easily, heavy to transport, lets in light that promotes algae growth
- Water Storage Bricks
- ✓ Safe: Stackable, BPA-free plastic, designed specifically for long-term water storage
- Used Milk Jugs
- ✗ Unsafe: Thin plastic breaks down, impossible to fully clean, prone to leaks
Choosing the Right Water Containers
Walking down the beverage aisle at your local store, you might think any plastic bottle could work for water storage. The reality is more nuanced. Choosing the right containers makes the difference between safe, drinkable water and a potential health hazard.
Food-grade plastic containers are the gold standard for long-term water storage . These containers are manufactured specifically for storing consumables. They don't leach chemicals into your water over time. Many food-grade containers are made from high-density polyethylene (HDPE), which is durable, resistant to temperature changes, and won't impart flavors to your water. When shopping for containers, look for products specifically labeled as food-grade or safe for water storage.
The debate between new and reused containers is worth understanding in depth. Those empty milk jugs sitting in your recycling bin might seem like perfect candidates for water storage, but they're actually problematic. Milk proteins can be nearly impossible to completely remove. This creates an environment where bacteria can flourish even after thorough washing. Similarly, containers that previously held juice, sports drinks, or other sugary beverages retain residue that becomes a breeding ground for microorganisms. The only reused containers worth considering are those that originally held water or other non-flavored, non-dairy beverages—and even then, they need rigorous sanitization.
For practical home storage, you have several excellent options to consider. Two-liter bottles that originally contained water or unflavored beverages work well and stack efficiently in closets or under beds. They're also manageable for a single person to lift and pour. Purpose-built water storage containers ranging from five to seven gallons offer a good balance between capacity and portability. When full, they're heavy but still movable by most adults. For families with more storage space, fifteen to fifty-five gallon drums provide substantial reserves. You'll need a pump or spigot to access the water since they're too heavy to tip and pour.
Size considerations extend beyond just storage capacity. Think about how you'll actually use the water during an emergency. A fifty-five gallon drum is economical and space-efficient. But if the power is out and you need to carry water upstairs to flush a toilet, you'll wish you had smaller, portable containers. Many experienced preppers use a combination approach: large containers for bulk storage in basements or garages, and smaller containers for easy access and transport throughout the home.
Container material matters for durability and safety. Opaque containers help prevent algae growth by blocking light. Containers with sturdy handles make transportation easier during emergencies. Avoid containers with narrow openings that are difficult to clean or fill. Wide-mouth containers allow you to add ice if needed and make thorough cleaning much simpler.
Where and How to Store Water
Temperature control represents the most critical factor in preventing both contamination and freezing of your emergency water supply. The optimal storage temperature range is 50-70°F, which conveniently matches the temperature of most interior living spaces . This range is warm enough to prevent freezing while cool enough to inhibit bacterial growth and minimize chemical leaching from plastic containers.
Your basement might seem like the obvious storage location, but it requires careful consideration. Unheated basements can drop below freezing during severe cold snaps. This turns your water reserves into useless blocks of ice. If you're using a basement for storage, position containers away from exterior walls where temperatures fluctuate more dramatically. Interior corners, utility rooms near furnaces, or insulated storage areas provide more stable environments. Never store water directly on concrete floors—the cold conducts through the concrete and can promote freezing . Instead, place containers on wooden pallets, thick cardboard, or foam insulation boards to create a thermal barrier.
Direct sunlight poses a different but equally serious threat to stored water. Ultraviolet radiation gradually degrades plastic containers, causing them to become brittle and eventually crack or leak. More importantly, sunlight promotes algae growth in water. This turns your clear emergency supply into a greenish, potentially unsafe liquid. Even if your containers are opaque, prolonged sun exposure affects plastic integrity. Windows, sunrooms, and garages with skylights are poor storage locations for this reason.
For those dealing with unheated storage spaces, insulation techniques can prevent freezing without requiring electricity. Wrapping containers in old blankets, sleeping bags, or bubble wrap creates an insulating layer that moderates temperature swings. Styrofoam coolers make excellent protective housings for smaller water containers—just place your bottles inside and close the lid. For larger containers, building a simple insulated enclosure using foam board panels creates a protected microenvironment. Some preppers even use discarded refrigerators or freezers as insulated storage cabinets. They take advantage of the built-in insulation to protect water containers from temperature extremes.
Location selection should also account for accessibility during emergencies. Water stored in a far corner of an unfinished basement might be out of sight and out of mind. It's also difficult to access in the dark during a power outage. Consider storing at least a three-day supply in easily accessible locations like bedroom closets, under bathroom sinks, or in kitchen pantries. The remaining supply can go in less convenient but more spacious storage areas. This layered approach ensures you have immediate access to water when you need it most, without sacrificing overall storage capacity.
Think about weight distribution when storing large quantities of water. A gallon of water weighs about eight pounds. Fifty gallons weighs four hundred pounds. Make sure your storage location can support the weight, especially if you're storing water on upper floors or shelving units. Distribute weight across floor joists rather than concentrating it in one spot.
Maintaining Your Water Supply
Creating an emergency water supply is just the beginning. Maintaining that supply ensures it remains safe and drinkable when you actually need it. Unlike canned goods that can sit forgotten for years, water storage requires active management and periodic attention.
The six-month rotation schedule is the standard recommendation for municipally treated tap water stored in clean containers . Mark each container with the date you filled it using a permanent marker or label. Set calendar reminders to rotate your stock twice yearly. Spring and fall make natural rotation points that align with other seasonal home maintenance tasks. When rotation time arrives, don't just dump the old water down the drain. Use it to water plants, wash your car, or clean outdoor areas. Then refill the containers with fresh tap water. This rotation schedule ensures your emergency supply never becomes stale or develops off-flavors. It keeps your storage system active in your mind rather than forgotten in a closet.
Commercially bottled water follows different rules. Those plastic bottles you buy at the store often have expiration dates printed on them. These dates are conservative estimates—the water itself doesn't really expire, but the plastic containers can degrade over time. If you're using store-bought water as your emergency supply, rotate it using the first-in, first-out method. Drink the oldest bottles and replace them with fresh ones during your regular grocery shopping.
Sanitization becomes crucial when you're reusing containers or if you suspect contamination. The CDC-recommended bleach solution method is straightforward and effective. Mix one teaspoon of unscented liquid household chlorine bleach with one quart of water for sanitization . Pour this solution into your empty container, cap it, and shake vigorously. Make sure the solution contacts all interior surfaces. Let it sit for at least thirty seconds, then pour it out and rinse thoroughly with clean water. Allow containers to air dry completely before refilling—trapped moisture can promote bacterial growth.
Quality checks should happen every time you rotate your water supply. Open a container and inspect it visually. The water should be completely clear with no cloudiness, floating particles, or discoloration. Smell it—properly stored water should have no odor. If you detect any mustiness, chemical smells, or other off-odors, discard that batch and sanitize the container before refilling. Finally, taste a small amount. It should taste clean and neutral. Any unusual flavors indicate the water should be replaced and the container should be inspected for damage or contamination.
Keep a simple log of your water storage. Write down how many containers you have, where they're stored, and when you last rotated them. This takes five minutes to set up but saves confusion later. You'll know exactly what you have and when it needs attention.
Getting Started This Weekend
You don't need to become an expert prepper overnight. Start small and build your water storage gradually. Begin with what you have right now. Grab a few clean two-liter bottles from your recycling bin—the ones that held water or unflavored seltzer. Sanitize them using the bleach method described above. Fill them with tap water and store them in a cool closet or under a bed.
That simple action puts you ahead of most households. You've created a basic emergency water supply in less than an hour. Over the next few weeks, add a few more containers. Pick up a five-gallon water container next time you're at the hardware store. Fill it and tuck it away in your basement or garage.
Set a reminder on your phone for six months from now. When it goes off, use that stored water for something practical. Water your garden, fill your pet's bowl, or use it for cleaning. Then refill those containers with fresh water. You've just completed your first rotation cycle.
Winter storms will come. Pipes will freeze in homes across your community. Power outages will leave families scrambling. But your family will have water—clean, safe drinking water that you stored when times were calm. That peace of mind is worth the small effort of filling a few containers and tucking them away.
Start today with just one container. Fill it, date it, and store it somewhere cool and dark. You've taken the first step toward winter preparedness. Build from there at your own pace. Before you know it, you'll have a complete emergency water supply that keeps your family safe and comfortable when winter throws its worst at you.