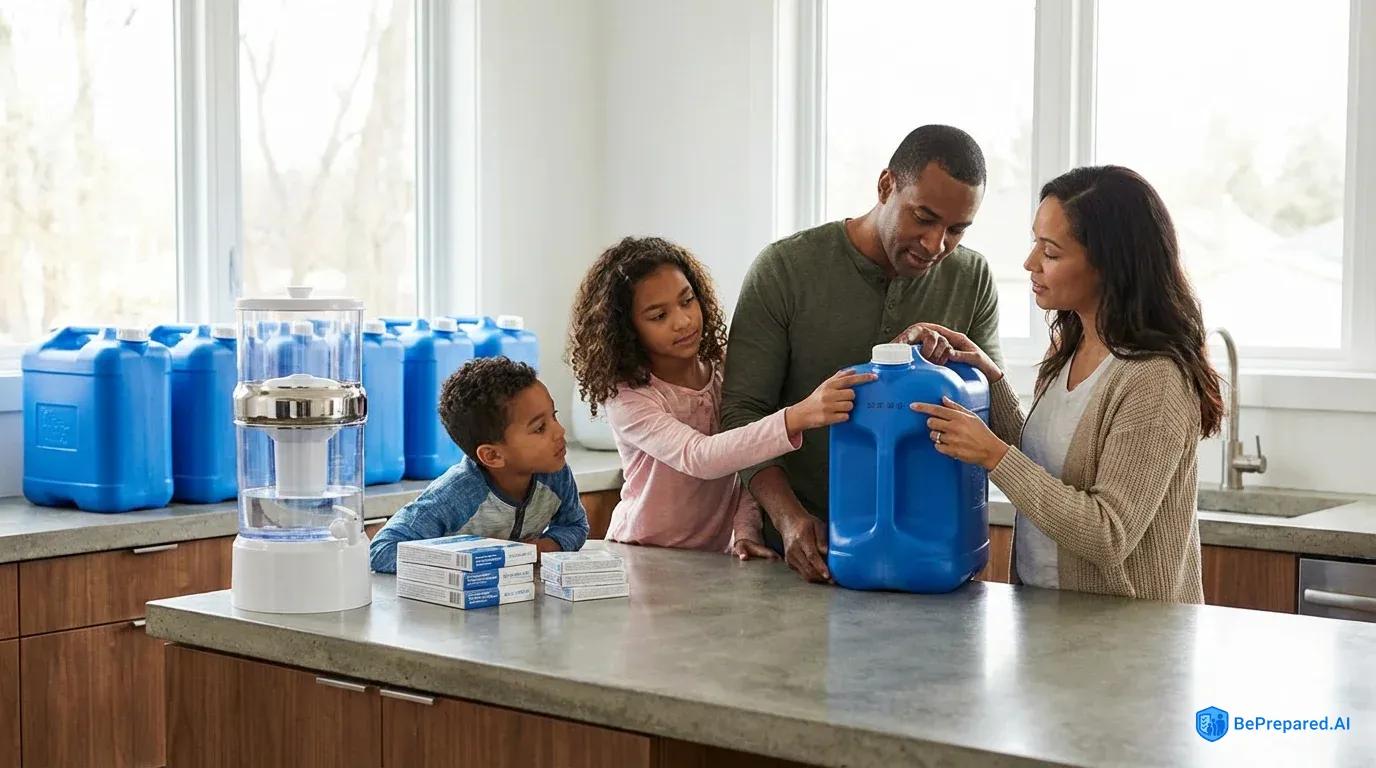
Why You Need a Water Plan When the Power Goes Out
The lights flickered twice before everything went dark. Sarah barely noticed at first—she was used to brief outages in her neighborhood. But when she turned on the kitchen tap an hour later to fill her coffee pot, only a weak trickle came out, then nothing. She stared at the faucet, confused. The power was out, sure, but the water? That had never happened before.
Most people don't realize how closely their water supply connects to the electrical grid. Municipal water systems depend on electric pumps to maintain pressure throughout the distribution network and to power the treatment facilities that keep water safe to drink . When the power fails for extended periods, those pumps stop working. The water already in the pipes might last a few hours, but once that pressure drops, your taps run dry. If you live in a rural area with a well, the connection is even more direct—no electricity means your well pump sits silent, and you have no water at all.
The average person needs at least one gallon of water per day just for drinking and basic sanitation . During hot weather or if you're dealing with illness, that number climbs quickly. A family of four burns through four gallons daily at minimum, and that's before you consider cooking, washing hands, or cleaning dishes. Without a plan, you could find yourself in Sarah's situation, staring at a useless faucet and wondering how you'll make coffee, let alone get through the next several days.
The good news? You can build a simple water plan that protects your family without taking over your garage or draining your bank account. The time to think about water isn't when the power goes out—it's right now, while your taps still flow freely.
- Food-Grade Plastic Containers
- ✓ Clean 2-liter soda bottles or commercial water jugs with tight-fitting lids vs. ✗ Used milk jugs that can harbor bacteria
- Water Storage Drums
- ✓ Heavy-duty blue or white water barrels with bung seals vs. ✗ Repurposed chemical drums or fuel containers
- Glass Containers
- ✓ Food-grade glass jars with secure lids vs. ✗ Decorative glass bottles or used wine bottles
- Storage Location
- ✓ Cool, dark place on sturdy shelving vs. ✗ Direct sunlight or garage floor
Safe Water Storage Basics
Building a water reserve starts with choosing the right containers. You can't just fill up any old jug and call it good. Food-grade plastic containers are your safest bet for long-term water storage . These containers are manufactured without chemicals that can leach into water over time. Use containers marked with recycling symbol showing a "1" or "2" —these are made from PETE or HDPE plastic, both approved for storing drinking water. You'll find purpose-built water storage containers at camping supply stores, but thoroughly cleaned juice or soda bottles work perfectly well too.
What you want to avoid are containers that previously held milk or juice. The residue creates an environment where bacteria can thrive even after washing. Glass containers work fine but they're heavy and breakable, which makes them less practical for emergency situations. Stick with food-grade plastic and you'll have a reliable, safe storage system.
How much water should you actually store? FEMA recommends a minimum of three days' worth , but a two-week supply gives you real security. Start with one gallon per person per day as your baseline, then add more if you live in a hot climate, have family members with medical conditions, or keep pets. A family of four needs at least twelve gallons for a three-day emergency, and fifty-six gallons for two weeks.
That sounds like a lot, but it adds up quickly in five-gallon containers—just twelve containers give you a solid sixty-gallon reserve. You can tuck these containers in corners, under beds, in closets, or along basement walls. They stack well and don't take up as much space as you might think.
Where you store this water matters almost as much as the containers themselves. Water should live away from direct sunlight in a cool location . Sunlight and heat encourage algae growth and can cause chemicals from plastic containers to leach into the water. A basement corner, interior closet, or garage works well for most people. Keep containers off concrete floors by placing them on wooden pallets or plastic sheeting—concrete can leach chemicals over time.
Store your water away from gasoline, kerosene, pesticides, or similar substances. Their fumes can penetrate plastic containers and contaminate the water inside. This doesn't mean you need a dedicated water storage room. Just choose a spot that's cool, dark, and away from household chemicals.
Even properly stored water doesn't last forever. You should rotate your water supply every six months . Mark each container with the date you filled it using a permanent marker, then set calendar reminders to swap out old water for fresh. This rotation schedule might seem tedious, but it ensures your emergency water stays fresh and safe.
The old water doesn't go to waste—use it to water plants, wash your car, or clean outdoor equipment before refilling those containers for another six-month cycle. Some people rotate their water by using it for cooking or drinking during the weeks before the six-month mark, then refilling immediately. Find a rhythm that works for your household and stick with it.
No-Power Purification Methods
When stored water runs low or you need to purify water from questionable sources, you need methods that work without electricity. Understanding these techniques before an emergency hits means you can safely transform pond water, rainwater, or even water from your hot water heater into drinkable supplies.
Boiling remains the most reliable purification method humans have ever developed. Heat destroys the cellular structure of bacteria, viruses, and parasites that cause waterborne illness. Bringing water to a rolling boil for one minute kills most harmful organisms . If you're above 6,500 feet elevation, extend that to three minutes because water boils at lower temperatures in thinner air.
During a power outage, you can boil water over a camp stove, outdoor grill, fireplace, or even a candle if you're patient. The challenge isn't the boiling itself—it's having alternative heat sources ready. A small camping stove with extra fuel canisters lives in many preparedness kits for exactly this reason.
The boiled water tastes flat because heating drives out dissolved oxygen. You can improve the flavor by pouring it back and forth between clean containers several times to re-aerate it. Let the water cool completely before drinking, and store it in clean, covered containers.
Chemical purification offers a lightweight backup when boiling isn't practical. Regular unscented household bleach can disinfect water in about thirty minutes . Add eight drops of unscented household bleach (6% sodium hypochlorite) per gallon of clear water, or sixteen drops if the water is cloudy, colored, or very cold. Mix thoroughly and let it stand for at least thirty minutes—you should detect a slight chlorine smell afterward.
If you don't smell chlorine, repeat the dose and wait another fifteen minutes. Bleach works by releasing chlorine that damages the cell walls of microorganisms, rendering them harmless. The key word here is "unscented"—never use scented bleach or bleach with added cleaners, as these contain chemicals unsafe for consumption.
Write the purchase date on your bleach bottle because chlorine degrades over time. Replace your emergency bleach supply annually to ensure it maintains full strength. Keep your emergency bleach separate from your regular cleaning supplies so you don't accidentally grab the wrong bottle during a crisis.
Water purification tablets containing chlorine dioxide or iodine offer another chemical option. These tablets are specifically designed for emergency water treatment and come with clear instructions. They're more compact than bleach bottles, making them perfect for evacuation kits or when you need to travel light. However, pregnant women should avoid iodine-based tablets, and the tablets can be expensive compared to bleach for treating large quantities.
Gravity-fed filtration systems represent the most sophisticated no-power purification method. These systems use dense ceramic or hollow-fiber filters that water passes through under nothing but gravity's pull. Quality gravity filters can remove 99.9% of bacteria and protozoa , and many also filter out sediment, chemicals, and unpleasant tastes.
You pour untreated water into an upper chamber, and it slowly drips through the filter into a lower chamber, emerging clean and ready to drink. A good gravity filter can process several gallons per hour depending on the model, and the filter elements last for hundreds or even thousands of gallons before needing replacement.
The upfront cost runs higher than bleach or boiling equipment, but gravity filters excel at processing large quantities of questionable water with minimal effort. They're particularly valuable if you're dealing with a long-term outage and need to purify water from streams, ponds, or rain collection systems. Many families keep a gravity filter as part of their camping gear, which means it pulls double duty for recreation and emergencies.
Each purification method has distinct advantages. Boiling requires no special supplies beyond a heat source and pot, but it uses fuel and takes time. Chemical treatment is cheap and portable, but some people dislike the taste and you need to wait for it to work. Gravity filters produce great-tasting water with minimal effort, but they cost more initially and the filters eventually need replacement.
Smart preparedness means having at least two of these methods available so you always have a backup option. You might keep bleach and a camp stove on hand, or combine a gravity filter with purification tablets. The specific combination matters less than having options when you need them.
Creating Your Water Security Plan
Michael sat at his kitchen table with a notepad, finally ready to stop procrastinating about emergency water. He'd watched his neighbors scramble during last winter's ice storm, and he didn't want to be that person next time. He started with the basics: four people in his household, one gallon per person daily, times seven days. Twenty-eight gallons minimum for a week .
He wrote it down, then added another fourteen gallons because his elderly father took medications that increased his fluid needs, and the summer heat could push everyone's consumption higher. Forty-two gallons total felt like a real target. Breaking that into five-gallon containers meant he needed nine jugs—manageable, not overwhelming.
The multiple-source strategy makes the difference between adequate preparation and genuine water security. Michael decided to store twenty gallons in five-gallon jugs in his basement, keep ten gallons in smaller one-gallon bottles for easy portability, and ensure his hot water heater stayed full—most water heaters hold between thirty and eighty gallons he could tap in an emergency . He ordered a gravity filtration system for his camping supplies and confirmed he had unscented bleach under the sink.
He also bought a small camp stove with extra fuel canisters. This layered approach meant that if one water source failed or ran out, he had multiple backups ready. He wasn't trying to prepare for every possible scenario—just building reasonable redundancy into his system.
Creating a maintenance schedule transformed Michael's plan from theory into practice. He set phone reminders for every six months to rotate his stored water. He designated the first weekend of April and October as "water maintenance days" when he'd check all his containers, refresh the water, verify his bleach was still good, and make sure his camp stove and gravity filter remained in working order.
He printed a simple checklist and stuck it inside his emergency binder. The whole system took him less than three hours to set up initially, and maintenance would require maybe an hour twice yearly. That felt doable, not burdensome.
Your water security plan doesn't need to be complicated, but it does need to exist. Calculate your household's minimum needs, establish multiple water sources and purification methods, and create a simple maintenance rhythm you'll actually follow. Write everything down so you're not trying to remember details during a crisis.
Share the plan with everyone in your household so they know where the emergency water lives and how to purify more if needed. A plan sitting in your head helps nobody—a plan written down, with supplies ready and family members informed, transforms anxiety into confidence. Walk your family through the basics once or twice a year so the information stays fresh.
Consider making a simple one-page reference sheet that lists where your water is stored, how to use each purification method, and the recommended amounts per person. Laminate it and stick it inside a kitchen cabinet or with your emergency supplies. When stress runs high during an actual emergency, having clear instructions readily available makes everything easier.
Taking the First Step
You don't need to build a complete water security system this weekend. Start your water storage plan this week with just one container. Even small steps toward preparedness make a difference. Fill a five-gallon jug, mark it with today's date, and tuck it away somewhere cool and dark.
You've just given your household five days of emergency drinking water. That's five days you didn't have covered before. Next week, add another container. The month after that, pick up some bleach and a camp stove. Preparedness builds through consistent small actions, not overwhelming one-time efforts.
Break the process into manageable chunks. Week one: buy and fill two containers. Week two: research purification methods and pick one to purchase. Week three: find good storage locations and move your containers there. Week four: create your maintenance schedule and set reminders. Before you know it, you'll have a solid water plan without the stress of trying to do everything at once.
The power will go out again someday—that's not fear-mongering, just reality. Make sure when it does, you'll still have water flowing, one way or another. Your future self will thank you for the preparation, and you'll sleep better knowing your family has this basic need covered. Start small, stay consistent, and build from there.