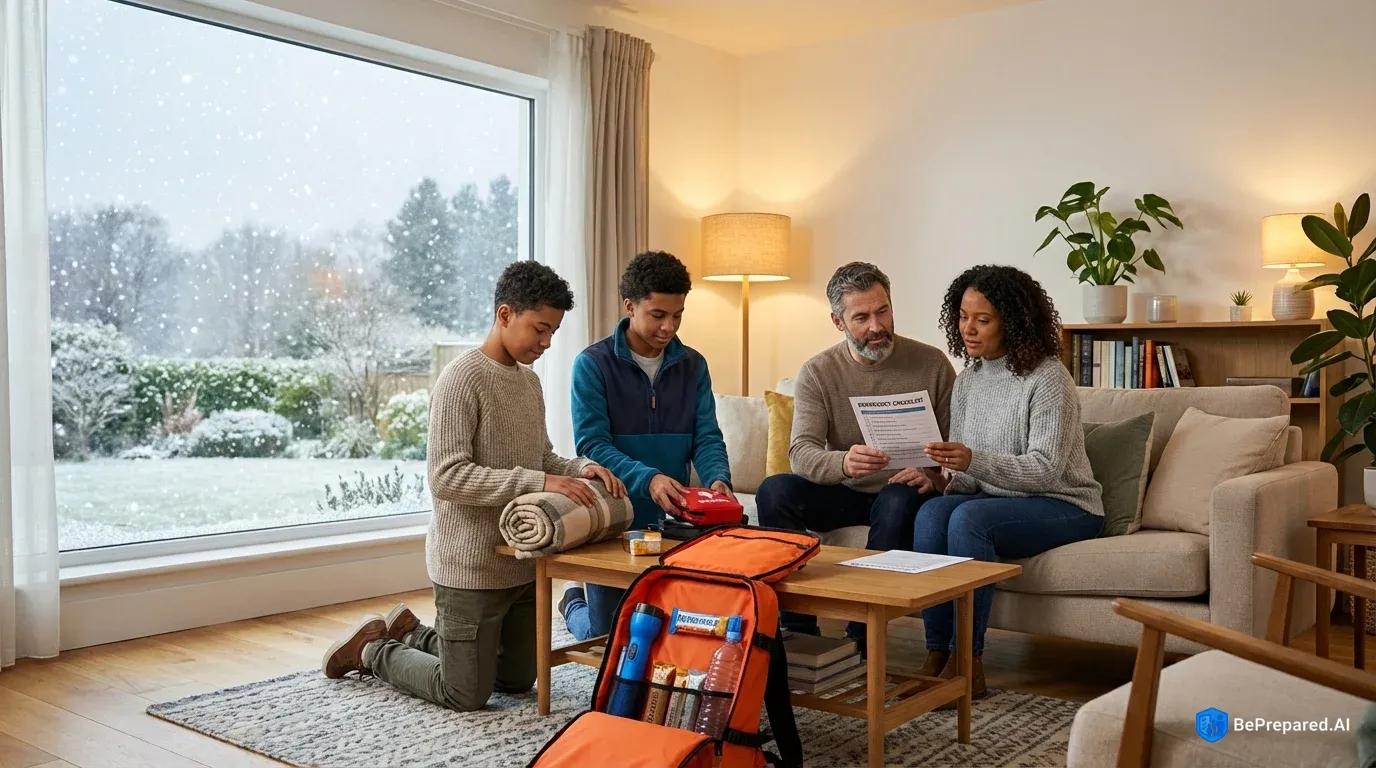
Why You Need a Winter Storm Evacuation Plan
Picture this: It's 2 a.m., and you wake to the sound of tree branches snapping under the weight of ice. Your power flickers once, twice, then goes dark. Within minutes, the temperature inside your home starts dropping. You grab your phone to check the weather alert—a severe winter storm warning has been upgraded. Local authorities are now recommending evacuation to warming centers before roads become completely impassable.
This scenario plays out more often than you might think. According to the National Weather Service, winter storms cause an average of 60 deaths annually in the United States . Here's the unsettling reality: most of these fatalities don't happen from people staying put. They occur during attempted evacuations when folks are caught unprepared. That's exactly why having a solid evacuation plan matters so much, even before the first snowflake falls.
The difference between a chaotic, dangerous evacuation and a smooth transition to safety often comes down to one thing: preparation. When you've already mapped out your route, packed your supplies, and established your communication plan, you're not making life-or-death decisions in a panic. You're simply executing steps you've already thought through carefully.
Winter storms can intensify rapidly, sometimes transforming from manageable snowfall to dangerous conditions faster than you'd expect. Having your plan ready means you can act decisively when those critical moments arrive. You're giving yourself and your family the best chance of staying safe.
The good news? Building this plan doesn't have to be overwhelming. You can start small, tackle one section at a time, and build your readiness step by step. Let's break it down into manageable pieces.
- Personal Documents
- IDs, passports, birth certificates, and social security cards stored in waterproof container
- Medical Records
- Health insurance cards, prescriptions, vaccination records, and medical history
- Financial Papers
- Bank statements, insurance policies, credit card info, and emergency cash
- Property Documents
- Home deed, vehicle titles, insurance policies, and warranties
- Contact List
- Emergency contacts, family members, doctors, and insurance agents with current phone numbers
Essential Documents & Communication Plan
When you're evacuating during a winter storm, you won't have time to rifle through filing cabinets or search for important papers. That's why creating a grab-and-go document folder now, while you're calm and thinking clearly, can make all the difference later.
Think of this as your "life admin" emergency kit. You're gathering everything that proves who you are, what you own, and what medical care you need—all in one portable package.
Your Document Emergency Kit Should Include:
Start with a waterproof folder or sealed plastic bag containing physical copies of essential documents. Include copies (not originals unless you can safely store originals elsewhere) of identification cards, insurance policies, medical records, prescriptions, and banking information. Don't forget copies of property deeds or rental agreements. Add recent photos of family members and pets for identification purposes if you get separated.
According to FEMA, having physical copies of important documents speeds up emergency assistance significantly . This becomes especially important when you need to prove residency for shelter access or file insurance claims.
While you're organizing documents, make sure to stock up on prescription medications to last at least 30 days . Keep these medications in your evacuation supplies so you can grab them quickly. Running out of critical medications during an evacuation creates serious health risks you can easily avoid with advance planning.
Creating Your Communication Network:
Cell networks often fail during severe winter storms. Towers lose power, get damaged by ice, or become overwhelmed by call volume . Your communication plan needs to account for this reality.
Write down (yes, on actual paper) the phone numbers of everyone in your emergency contact list. Include local emergency services, your designated out-of-state contact person, nearby family members, and neighbors who might need assistance. When your phone battery dies or service cuts out, you'll still have access to these critical numbers.
Establish a meeting point arrangement with two backup locations. Pick one spot in your immediate neighborhood and one outside your area in case local evacuation becomes necessary. Maybe it's the community center three blocks away, or your sister's house in the next town over. Everyone in your household should know both locations and understand when to use each one.
Backup Communication Methods:
Beyond cell phones, consider alternative ways to stay connected. A battery-powered or hand-crank emergency radio keeps you informed when internet and cell service fail. These radios are inexpensive and can run for days without electricity.
Some families establish a "text tree" where one person contacts two others, who each contact two more. This approach efficiently spreads information without overwhelming a single phone line. If you have elderly neighbors or family members without cell phones, include them in your plan with specific check-in arrangements.
Write down the local emergency management office number and the non-emergency police line. These often remain operational when 911 systems become overloaded. Having these numbers gives you more options for getting help or information.
Store this communication plan in multiple places: one copy in your document folder, one in your car, and one with a trusted friend or family member outside your immediate area. Redundancy here isn't excessive—it's smart planning.
Winter-Specific Evacuation Supplies
Preparing evacuation supplies for winter storms requires a different mindset than general emergency preparedness. You're not just planning to survive—you're planning to survive in potentially life-threatening cold, possibly without shelter, heat, or the ability to stay dry.
Don't let this intimidate you. You can build your winter evacuation kit gradually, adding items over several weeks or months. Start with the basics and expand from there.
Step 1: Master the Art of Layering
Your clothing strategy can literally mean the difference between life and death. Proper layering helps your body maintain its core temperature even in severe cold. Here's how to build those layers effectively:
Start with a moisture-wicking base layer. Synthetic materials or merino wool work best because they pull sweat away from your skin. Cotton is your enemy in winter emergencies because it holds moisture against your body, rapidly draining your heat.
Your middle layer provides insulation—think fleece or down. This layer traps warm air close to your body, creating a buffer against the cold outside. Your outer layer should be waterproof and windproof, protecting you from precipitation and wind chill.
Pack complete sets of these layers for each family member in your evacuation bag. Include extra socks (frostbite often starts in the feet), waterproof gloves or mittens, a warm hat that covers your ears, and a scarf or neck gaiter. Don't forget sturdy, waterproof boots with good traction. Slipping on ice while evacuating creates obvious dangers you want to avoid.
Step 2: Assemble Winter Survival Gear
Beyond clothing, specific gear addresses winter's unique hazards. Pack chemical hand warmers and foot warmers. These small packets generate heat for hours and can prevent frostbite in extremities. They're cheap, lightweight, and can make a huge difference in your comfort and safety.
Include a thermal emergency blanket (those metallic-looking sheets) for each person. They reflect body heat and provide surprising warmth for their compact size. You can fit several in your bag without adding much weight.
A headlamp or flashlight with extra batteries is essential. Winter storms often mean darkness—both from early sunsets and power outages. Add waterproof matches or a reliable lighter stored in a waterproof container. Even if you don't plan to build a fire, having the ability to create heat and light expands your options dramatically.
Step 3: Pack No-Power Heat and Shelter Options
If you're evacuating to a location that might lack power, consider portable heat sources. Small, portable propane heaters designed for indoor use can warm a room. Only use them in well-ventilated spaces to prevent carbon monoxide poisoning. Include a battery-powered carbon monoxide detector if you pack any combustion heat source.
A quality sleeping bag rated for cold temperatures provides both warmth and versatility. You can use it in a car, emergency shelter, or wherever you end up. For families, consider a larger cold-weather sleeping bag or multiple bags that zip together.
Step 4: Address Food and Water Needs
Dehydration is a sneaky risk during winter evacuation . People often don't feel as thirsty in cold weather, but your body still needs water. You need it especially if you're expending energy walking through snow or working to stay warm.
Pack at least one gallon of water per person per day, accounting for a minimum three-day evacuation . In winter, you can't rely on finding running water since pipes freeze. Store water in containers that won't crack if they freeze, and keep some inside your home where temperatures stay warmer.
Choose high-calorie, non-perishable foods that don't require cooking. Your body burns more calories staying warm in cold conditions, so energy-dense options make sense. Nuts, dried fruit, granola bars, and peanut butter are all excellent choices. Include some comfort foods too—a favorite candy bar or cookies can provide an enormous psychological boost during a stressful evacuation.
Step 5: Vehicle Preparation
If you have a vehicle, it becomes your primary evacuation tool. Keep your gas tank at least half full throughout winter. Gas stations lose power during storms, and you don't want to be searching for fuel during an emergency.
Store a winter emergency kit in your vehicle year-round. Include an ice scraper, small shovel, sand or kitty litter for traction if you get stuck, and jumper cables. Add a blanket, extra warm clothes, and some of those chemical hand warmers we mentioned earlier.
If you use alternative heat sources at home like a wood stove or generator, have enough fuel for at least 5 days . This gives you the option to shelter in place if evacuation becomes too dangerous.
Ready to organize everything systematically? Download our printable Winter Storm Evacuation Checklist to ensure you don't miss any critical items. It breaks down every supply into simple categories you can tackle one at a time.
No-Vehicle Evacuation Options
Not everyone has access to a reliable vehicle when evacuation becomes necessary. Maybe your car won't start in the extreme cold, roads are too dangerous to drive, or you simply don't own a vehicle. Understanding your alternatives before an emergency strikes gives you options when you need them most.
This section is about building backup plans. Even if you have a car, knowing these alternatives helps you prepare for situations where driving isn't possible.
Walking Evacuation: When and How
Walking evacuation represents your most basic option, but it comes with serious limitations. Emergency management experts generally recommend attempting walking evacuation only when appropriate shelter is relatively close by. In winter conditions—with snow, ice, reduced visibility, and the physical drain of cold weather—even short distances can take much longer than expected and exhaust your energy reserves.
If walking is your only option, preparation becomes everything. You'll need those layered clothing systems we discussed, waterproof boots with excellent traction, and a backpack to carry supplies while keeping your hands free for balance.
Travel during daylight hours whenever possible. Never attempt to walk through a blizzard or whiteout conditions. You can become disoriented and lost within minutes, even in familiar areas. The risk simply isn't worth it.
Bring a fully charged cell phone, a whistle to signal for help, and a bright-colored cloth or bandana to increase visibility to rescuers if needed. Tell someone your route and expected arrival time before you leave.
Public Transportation and Community Resources
Most communities maintain emergency transport services during disasters. Many residents don't know these resources exist . Contact your local emergency management office now—before a storm threatens—to learn what's available in your area.
Many cities operate emergency buses or vans that transport residents to warming centers during severe winter weather. Some communities maintain call lists for residents who need evacuation assistance. Getting on these lists ahead of time means you're already in the system when emergency strikes.
Religious organizations, community centers, and local nonprofits often coordinate transportation help during emergencies. The American Red Cross frequently arranges transport to their shelters during winter storm events . Register with these organizations in advance if you know you'll need transportation support. It's much easier than trying to arrange help in the middle of a crisis.
Make a list of these resources with contact information. Add it to your communication plan so you have phone numbers ready when you need them.
Neighbor Networks Versus Official Services
Building relationships with neighbors creates an informal safety net that often responds faster than official services. Maybe the family three doors down has a four-wheel-drive vehicle and would include you in their evacuation plans. Perhaps you can coordinate with neighbors to share rides to warming centers, splitting gas costs and ensuring nobody gets left behind.
Understanding the difference between neighbor networks and official services helps you use both effectively. Neighbors respond quickly and know your specific situation. They understand your needs and can make decisions fast. But they're dealing with the same emergency you are and might face their own limitations.
Official emergency services have resources and training. They're equipped to handle difficult conditions and can reach more people. But they may be overwhelmed during widespread disasters, leading to delays.
The smart approach? Develop both options. Arrange informal agreements with nearby friends or neighbors while also registering with official emergency transportation services. Talk to your neighbors now about winter storm plans. Find out who has four-wheel-drive vehicles, who might need help, and how you can support each other.
Redundancy in evacuation planning isn't wasteful—it's wise. Your evacuation plan shouldn't assume everything will work perfectly. The neighbor who promised a ride might evacuate earlier than expected. The emergency bus might be delayed. Having multiple options, understanding the realistic limitations of each, and preparing for the possibility of walking evacuation gives you the flexibility to adapt as situations change.
Winter storms are unpredictable, but your response doesn't have to be. Start with one small step today. Maybe that's creating your document folder, or writing down emergency phone numbers, or buying an extra package of hand warmers next time you're at the store. Each small action builds your readiness and reduces the stress you'll feel when a real emergency arrives.
You've got this. Take it one step at a time, and before you know it, you'll have a solid plan that protects you and your family when winter weather turns dangerous.